Ergonomic Productivity Setup: Build a Desk That Helps You Focus
An ergonomic productivity setup is more than a nice photo for social media. A well-planned desk reduces strain, supports focus, and makes daily work smoother. This guide walks through practical choices for a minimalist desk, home office setup, lighting, keyboards, timers, and other desk setup essentials that support both comfort and deep work.
Start With Purpose: What Do You Need From Your Desk?
Before buying gear, get clear on how you work. A home desk setup for coding all day looks different from a small desk setup for writing and video calls. Think about tasks, time spent at the computer, and how much space you have.
Ergonomics shapes the workspace to your body and tasks. Productivity shapes it to your attention and energy. Your ergonomic productivity setup should do both at once, without becoming cluttered or overcomplicated.
Write down your top three work activities and any pain points, such as neck tension or eye strain. Use this short list as your filter for every desk decision you make.
Desk Setup Essentials for an Ergonomic Productivity Setup
To keep things simple, focus on a core set of desk setup essentials. These items support both ergonomics and productivity across most work types, whether you are coding, writing, or handling calls all day.
Core items that anchor your ergonomic productivity setup
The list below shows the key items plus a quick example of how each helps during a real workday.
| Item | Why it matters | Micro-example |
|---|---|---|
| Stable desk and supportive chair | Keeps posture neutral and reduces back and neck strain. | You sit for a two-hour meeting without shifting or slouching. |
| Properly sized monitor and adjustable stand or arm | Places the screen at eye level and at a safe distance. | Your eyes stay relaxed while reading long reports or code. |
| Comfortable keyboard, mouse, and optional wrist rest | Reduces wrist extension and shoulder tension. | You type a full morning of emails with no tingling in your hands. |
| Monitor light bar or desk lamp with soft, adjustable light | Cuts glare and balances contrast between screen and desk. | You switch from bright daytime work to a dim evening session without eye strain. |
| Cable management tools for a clutter-free surface | Keeps the desk clear and prevents snagging or distractions. | You plug in a laptop quickly without dragging cables across your keyboard. |
| Pomodoro timer or flow timer | Creates focus blocks and regular micro-breaks. | You work in 25-minute sprints and stand up for 3 minutes between them. |
| Notebook and pen within easy reach | Captures ideas fast without breaking focus. | You jot down a task during a call instead of switching apps and losing your train of thought. |
| One or two personal items (plant, photo, art, or keycaps) | Makes the space feel inviting without adding clutter. | You glance at a small plant or photo and feel a brief, calming mood lift. |
Once you have these essentials in place, you can fine-tune how you use them with a simple process. The goal is to keep what genuinely helps your body and focus, and remove anything that just fills space.
- Work at your desk for a full week without adding new gear.
- Notice which items you adjust or reach for many times each day.
- Remove anything you rarely touch or that gets in your way.
- Adjust heights, distances, and lighting in small steps, then test for a day.
- Add one new tool at a time only if it solves a clear problem.
Start with this core setup and let real daily use guide small changes. Over time, your desk will match your work style instead of a random shopping list.
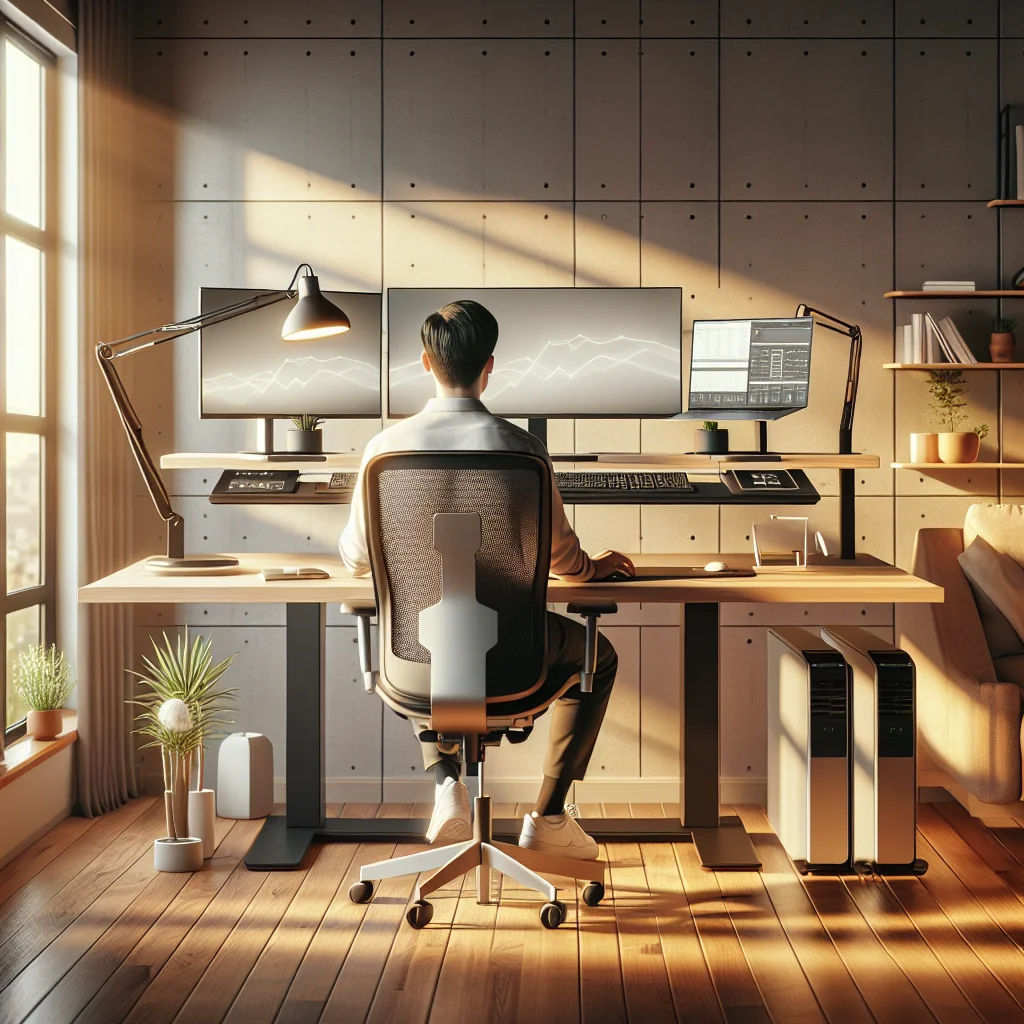
How to Set Up a Desk: Core Ergonomic Principles
Every ergonomic productivity setup, whether simple or advanced, should follow a few basic rules. These rules protect your neck, back, wrists, and eyes during long sessions and give you a stable base to customize later.
Quick reference: ideal desk and chair measurements
Use this table as a starting point, then fine-tune based on your height and comfort.
Desk and Chair Ergonomic Cheat Sheet
| Element | Target Position | Simple Micro-Example |
|---|---|---|
| Feet | Flat on floor or footrest | If toes dangle, add a box or footrest under your feet. |
| Knees and hips | Knees near 90°, hips slightly higher | Raise the chair until thighs slope gently down toward knees. |
| Elbows | About 90°, close to body | Lower or raise the chair so forearms are level with the desk. |
| Monitor height | Top of screen at or just below eye level | Stack a few books under the monitor if you look down to see it. |
| Monitor distance | Roughly arm’s length away | Reach out; your fingertips should just touch the screen. |
| Keyboard and mouse | Centered and close, same height | Line the “B” key with your belly button; keep mouse beside keyboard. |
| Reach zone | Frequently used items within easy reach | Place notebook, pen, and water where you can grab them without leaning. |
These targets are guides, not strict rules. Adjust them based on your body and how you actually work during a typical day, and revisit them if you change chairs or add a new monitor.
Step-by-step desk setup checklist
Follow this ordered list once from top to bottom, then make small tweaks during the week as you notice tension or discomfort.
- Chair and posture first – Sit with feet flat, knees near 90 degrees, and hips slightly higher than knees. Use a chair that supports your lower back or add a small cushion; for example, roll up a towel and place it behind your lower spine.
- Desk height – Adjust the desk or chair so your elbows are near 90 degrees when typing, with shoulders relaxed, not lifted. If your desk is fixed and too high, raise your chair and add a footrest to keep feet supported.
- Monitor position – Place the top of the screen at or just below eye level. Keep the monitor about an arm’s length away to reduce eye strain; if you lean forward to read, increase text size instead of moving the screen closer.
- Keyboard and mouse alignment – Keep your keyboard centered with your body and screen. Place the mouse close, at the same height, to avoid reaching; if you notice your arm drifting out to the side, slide the mousepad closer to your hip.
- Reach zone – Keep daily desk setup essentials like notebook, pen, and water bottle within easy reach so you are not twisting or leaning. Place your phone and main notebook on your dominant-hand side and archive items farther away.
Once these basics feel natural, you can layer on style, tools, and tech that support your personal work style and aesthetic desk setup goals, such as a desk lamp, cable management, or a second monitor.
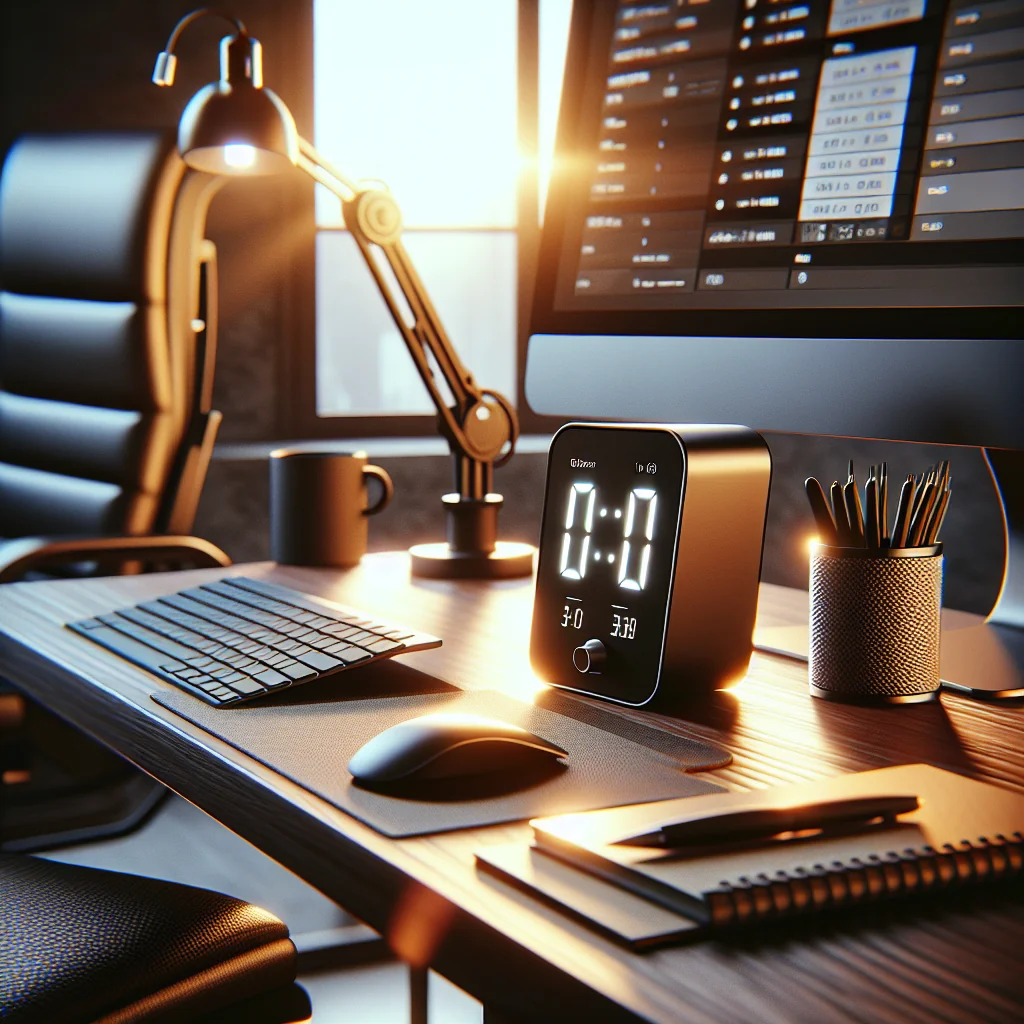
Timers, Flow, and Focus: Pomodoro and Flow Timer Tools
Physical comfort is one part of productivity. Time structure is the other. A pomodoro timer breaks work into short, focused blocks with regular breaks. Many people use 25 minutes of work followed by a 5-minute break, but you can adjust the length to match your focus span.
Pomodoro vs. flow timers at a glance
This quick comparison shows how pomodoro and flow timers differ in session length and use.
| Timer Type | Typical Work Block | Typical Break | Best For |
|---|---|---|---|
| Classic Pomodoro | 25 minutes | 5 minutes | Task batching, admin work, early focus training |
| Extended Pomodoro | 35–40 minutes | 5–10 minutes | Writing, coding, design with moderate focus |
| Flow Timer | 50–90 minutes | 15–20 minutes | Deep work, creative problem-solving, strategy |
A flow timer is similar to a pomodoro timer but supports longer deep work sessions. For example, you might set a 50-minute focus block to draft a report, or a 90-minute block for complex coding, followed by a longer break. Both tools help you protect your attention and remind you to stand, stretch, and rest your eyes.
Simple ways to use timers in your day
Use the following steps as a clear, ordered routine for working with timers.
- Pick a task that fits the block, such as “outline 2 slides” for 25 minutes or “debug feature X” for 60 minutes.
- Set your timer before you start, then silence phone alerts and close extra tabs.
- Work only on that task until the timer rings; jot down distractions on a note instead of acting on them.
- Take the full break to stand, stretch, drink water, or rest your eyes away from the screen.
- After 3–4 cycles, take a longer break and review what you finished, then adjust block length if you felt rushed or bored.
Keep your timer visible but not distracting. A small physical timer on your desk, a subtle corner widget, or a clock on a secondary screen works well. The key is consistency: use the timer as part of your daily routine, even on busy or imperfect days.
Minimalist Desk and Simple Desk Setup: Less Clutter, More Focus
A minimalist desk helps your brain relax. Fewer objects mean fewer visual distractions and less time spent searching for things. This does not mean empty; it means intentional. Keep only what you use daily on the surface.
A simple desk setup often includes a monitor or laptop, keyboard, mouse, and one or two personal items. Use drawers, trays, or a small pegboard to store everything else. Cable clips and a basic cable box can hide wires and keep the desktop clean.
For small desk setups, vertical space matters. Use monitor risers, shelves, or stacked monitor arms to free up room under and around the screens without losing workspace.
Home Office Setup vs Home Desk Setup: Thinking Beyond the Surface
A home desk setup is the physical desk and gear. A home office setup is the whole room: noise, light, storage, and movement. Both affect productivity. If you can, place your desk where you get natural light from the side, not directly behind or in front of the monitor.
Separate “work zone” and “rest zone” as much as possible, even in a small space. A simple rug, a screen divider, or turning the desk to face a different direction from your bed or sofa can help your brain switch into work mode faster.
Keep a small “end of day” routine: clear the surface, close the laptop, and reset the chair and monitor. This small habit keeps your ergonomic productivity setup ready for the next session.
Lighting and Monitor Setup: See Clearly, Stay Comfortable
Good lighting reduces eye strain and helps you stay alert. Poor lighting can make even strong gear feel tiring. Learn how to light an office in a way that supports both comfort and focus.
Use a mix of soft ambient light and targeted task light. If you work at night or in dim rooms, a monitor light bar can help by lighting the desk surface without shining on the screen. A light bar also saves space on a small or minimalist desk.
For a stacked monitor setup, keep the main monitor directly in front of you and the secondary one above or beside it. Avoid placing the top monitor too high; you should not have to tilt your head back to see it. Adjust brightness and contrast to match room light so your eyes do not keep re-adjusting.
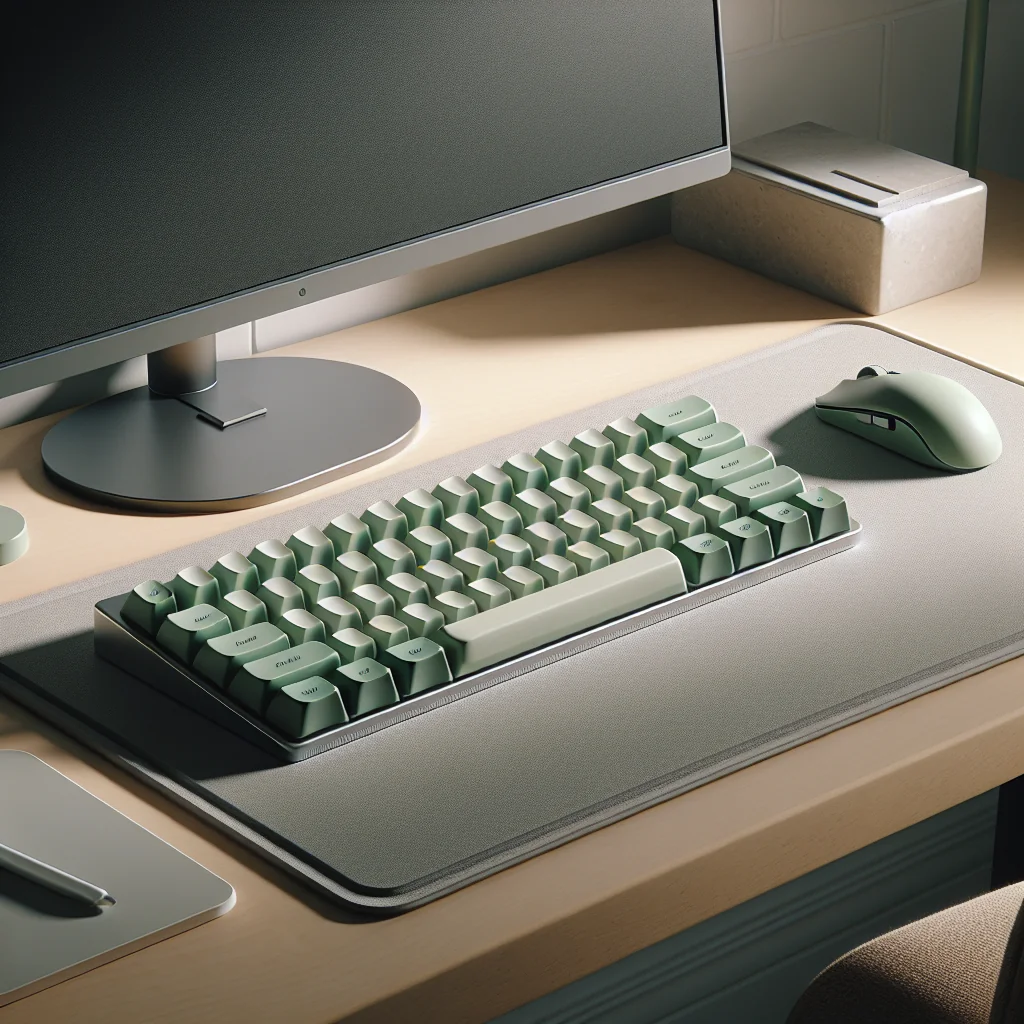
Mechanical Keyboards, Keycaps, and Input Devices
Input devices are where ergonomics and aesthetics meet. Your hands spend hours on the keyboard and mouse, so comfort here matters as much as chair and monitor height. Style choices like colored keycaps can make the space feel more inviting, which also supports long-term focus.
If you are wondering what a mechanical keyboard is, think of it as a keyboard with individual switches under each key. These switches give clear feedback when pressed. Many people find mechanical keyboards more comfortable and satisfying to type on, especially during long writing or coding sessions.
Keycap sets can improve legibility and add personality to an inspired desk setup. Choose key profiles that match your hand comfort and avoid very tall profiles if you do not use a wrist rest.
Logitech MX Master 3 Review: Is It Right for Your Productivity Setup?
The Logitech MX Master 3 is a popular mouse for productivity setups because it focuses on comfort and control. The sculpted shape supports the hand in a relaxed, slightly tilted position, which can reduce wrist strain over long days.
The horizontal scroll wheel is useful for timelines, spreadsheets, and design tools. Custom buttons can be mapped to frequent actions, which cuts down on repetitive keyboard shortcuts. For many users, the weight feels solid but not heavy, making precise pointing easier.
In an ergonomic productivity setup, the MX Master 3 works best when placed close to the keyboard, at the same height, with your forearm supported on the desk. If you have a very small desk setup, check that you still have enough room to move the mouse without bumping into other items.
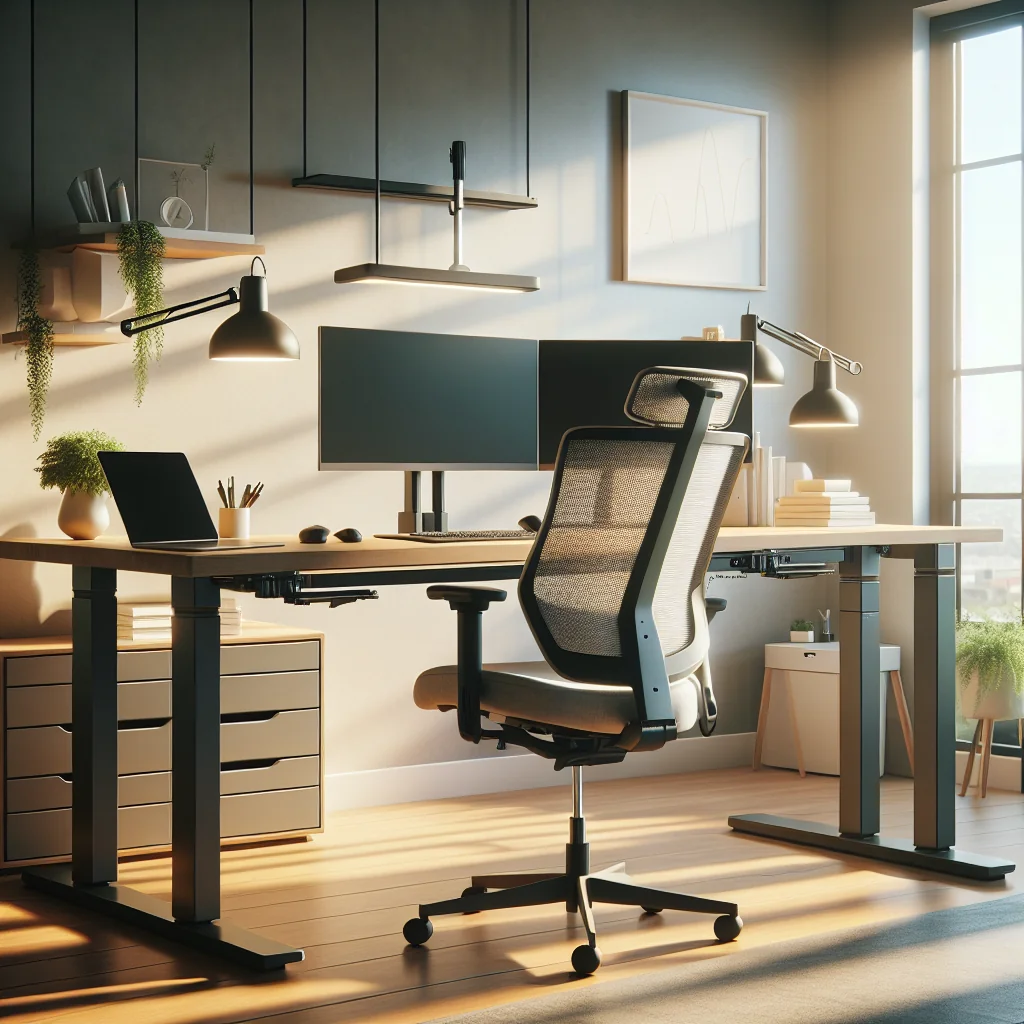
Aesthetic and Inspired Desk Setup: Making the Space Feel Good
An aesthetic desk setup is not just decoration. A space you enjoy looking at can reduce stress and help you sit down to work more easily. An inspired desk setup balances clean lines with a few items that reflect your taste and values.
Think in small themes: a green accent through plants and keycaps, or a black-and-wood mix for a calm, grounded feel. Use one or two framed prints, a single plant, or a neat pen cup instead of many small objects.
An IKEA desk setup often works well for this. Simple tabletops, drawers, and legs can be combined into a clean, flexible base. You can then personalize with lighting, keycaps, and accessories without overwhelming the space.
Putting It All Together: Your Personal Computer Desk Setup
An ergonomic productivity setup is not built in a day. Begin with posture, monitor height, and lighting. Then refine your computer desk setup with tools that match your work style: a mechanical keyboard if you type a lot, a Logitech MX Master 3 if you value precise control, a monitor light bar for better lighting, and a pomodoro timer or flow timer for structure.
Keep the desk minimalist enough for calm, but personal enough to feel inviting. Whether you use a small IKEA desk in a corner or a full home office setup, aim for a space that supports your body, respects your attention, and quietly encourages you to do your best work.
To review your setup quickly, keep this short unordered list in mind as a daily check:
- Posture feels relaxed, with feet supported and shoulders loose.
- Monitor sits at eye level and about an arm’s length away.
- Keyboard and mouse stay close, with wrists straight.
- Desk surface is clear except for daily essentials and one or two personal items.
- Lighting is even, with no harsh glare on the screen.
Run through this list at the start of each day. Small, steady tweaks will keep your workspace healthy, productive, and pleasant to use.