Ergonomic Desk Setup Essentials for Comfortable, Productive Work
Ergonomic desk setup essentials are the foundation of a healthy, productive workspace. A good setup supports your body, sharpens focus, and still leaves room for a clean, attractive style. This guide walks through each part of your desk area, then shows you how to put everything together in a simple, step‑by‑step process.
Why Ergonomics Matters for Every Desk Setup
Ergonomics is about fitting your workspace to your body, not forcing your body to fit the space. Done well, an ergonomic desk setup reduces strain on your neck, back, wrists, and eyes. It also makes it easier to stay focused for longer without feeling drained.
Whether you have a small desk in a bedroom or a full home office, the same principles apply. You adjust the height, distance, and angle of your main tools so your body rests in a neutral, relaxed position. From there, you can add personal style, tech, and productivity tools.
Think of this as a system: desk, chair, monitor, keyboard, mouse, lighting, and habits. Each part affects the others, so small changes can create a big improvement in comfort.
Desk and Chair: The Base of Your Ergonomic Workspace
The desk and chair form the base of any ergonomic and aesthetic workspace. A stable desk at the right height and a supportive chair do more for your comfort than any gadget. Once these are set, the rest of your ergonomic desk setup essentials fall into place more easily.
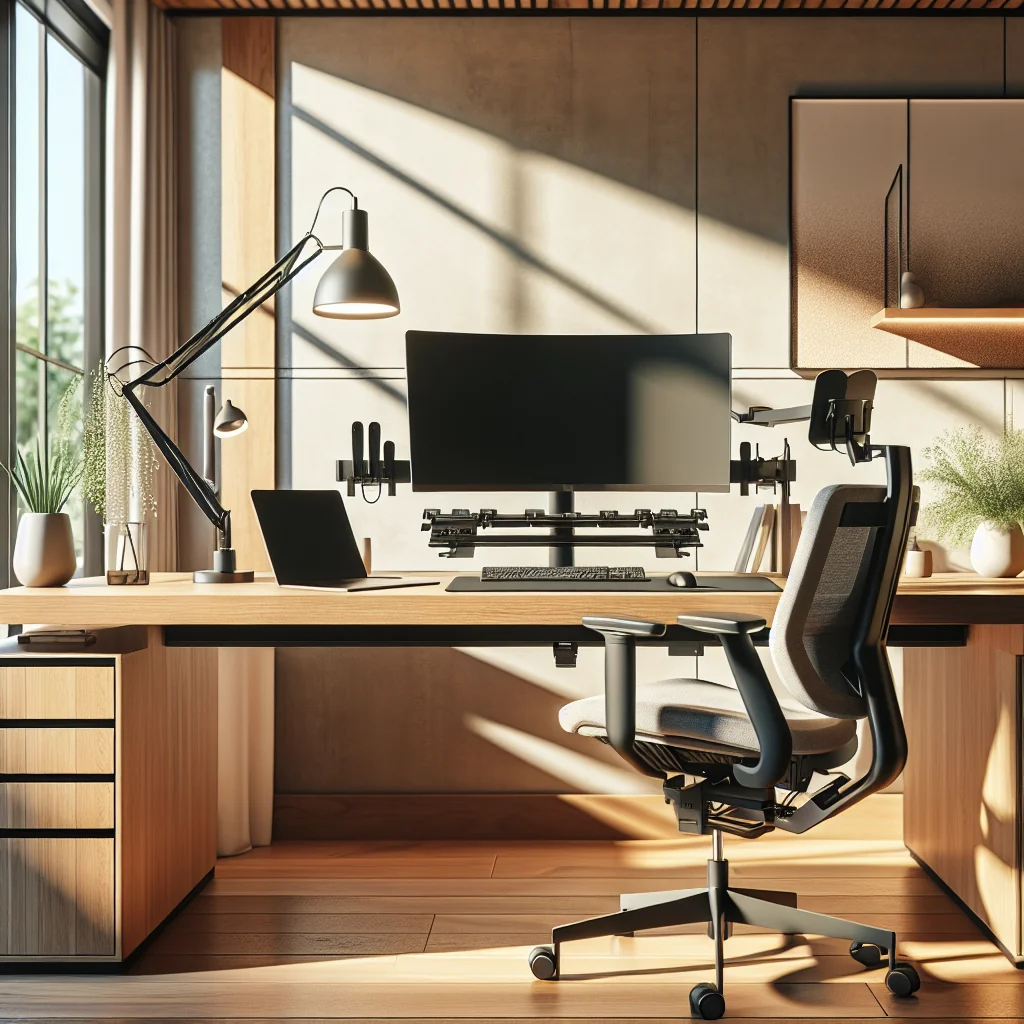
Choosing and Positioning the Desk
A minimalist desk helps keep clutter away from your arms and hands. For a small desk setup, choose a surface deep enough to keep your monitor at arm’s length. Aim to keep the front 10–15 centimeters of the desk clear so your forearms can rest without bumping into objects.
For an IKEA desk setup or any modular design, look for a stable frame that does not wobble when you type. Neutral colors reduce visual noise and make it easier to spot items that do not belong in your main work zone. A simple drawer, tray, or under‑desk shelf gives you a place to store everyday items instead of leaving them on the surface.
Whether you pick a large computer desk or a compact home desk, focus on three things: stability, enough depth for your monitor, and some storage. These basics support both ergonomics and a calm, focused look.
Setting Up the Chair for Neutral Posture
Your chair controls how your whole body lines up with the desk. Adjust the height so your feet rest flat on the floor and your knees stay near a right angle. If your feet dangle, use a footrest or a low box so your legs feel supported.
Sit close enough that you do not need to lean forward to reach the keyboard. Keep your back supported by the backrest, and let your shoulders relax rather than hunch up toward your ears. Armrests should support your forearms lightly without pushing your shoulders up.
Once your chair is set, raise or lower the desk so your forearms are roughly parallel to the surface. This one change often removes a lot of wrist and shoulder tension.
Monitor Position and Eye Comfort
Monitor placement is one of the most important ergonomic desk setup essentials for reducing neck and eye strain. The goal is to keep your head balanced over your shoulders and your eyes looking slightly downward, not sharply up or down.
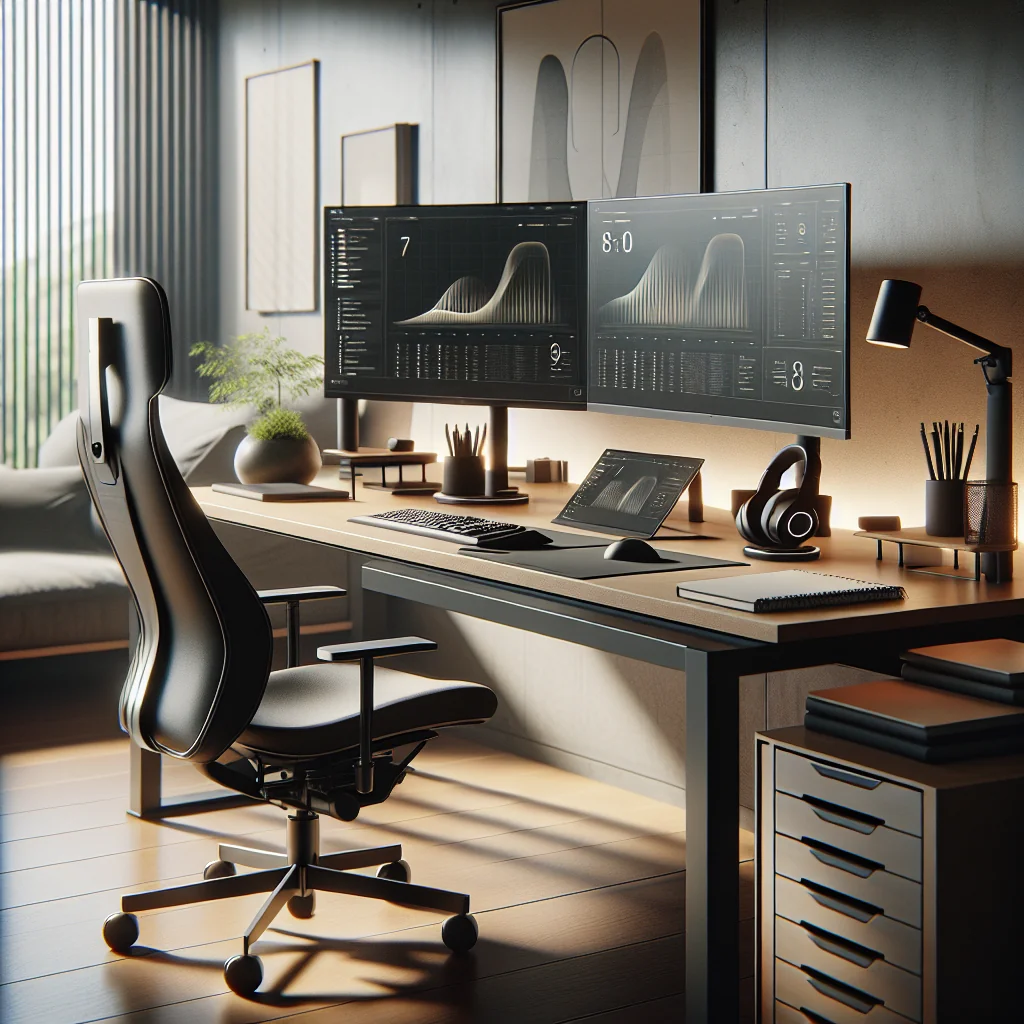
Single and Stacked Monitor Arrangements
For a single monitor, place the screen directly in front of you, not off to one side. The top of the screen should be at or just below eye level when you sit upright. Keep the monitor about an arm’s length away; adjust slightly if you have vision needs.
A stacked monitor setup, where one display sits above another, can work if you use it carefully. Use the center screen at eye level as your primary display. Use the second screen above or below for reference material instead of constant reading, so you do not hold your head tilted for long periods.
On a small desk, one larger monitor is often better than two smaller ones. A single wide screen keeps your gaze centered, reduces head turning, and frees space for a monitor arm if you use one.
Keyboard, Mouse, and Wrist Comfort
Input devices are often overlooked, yet they are central ergonomic desk setup essentials. The way you type and move the mouse affects your fingers, wrists, elbows, and shoulders. A comfortable setup reduces strain and makes daily work feel smoother.
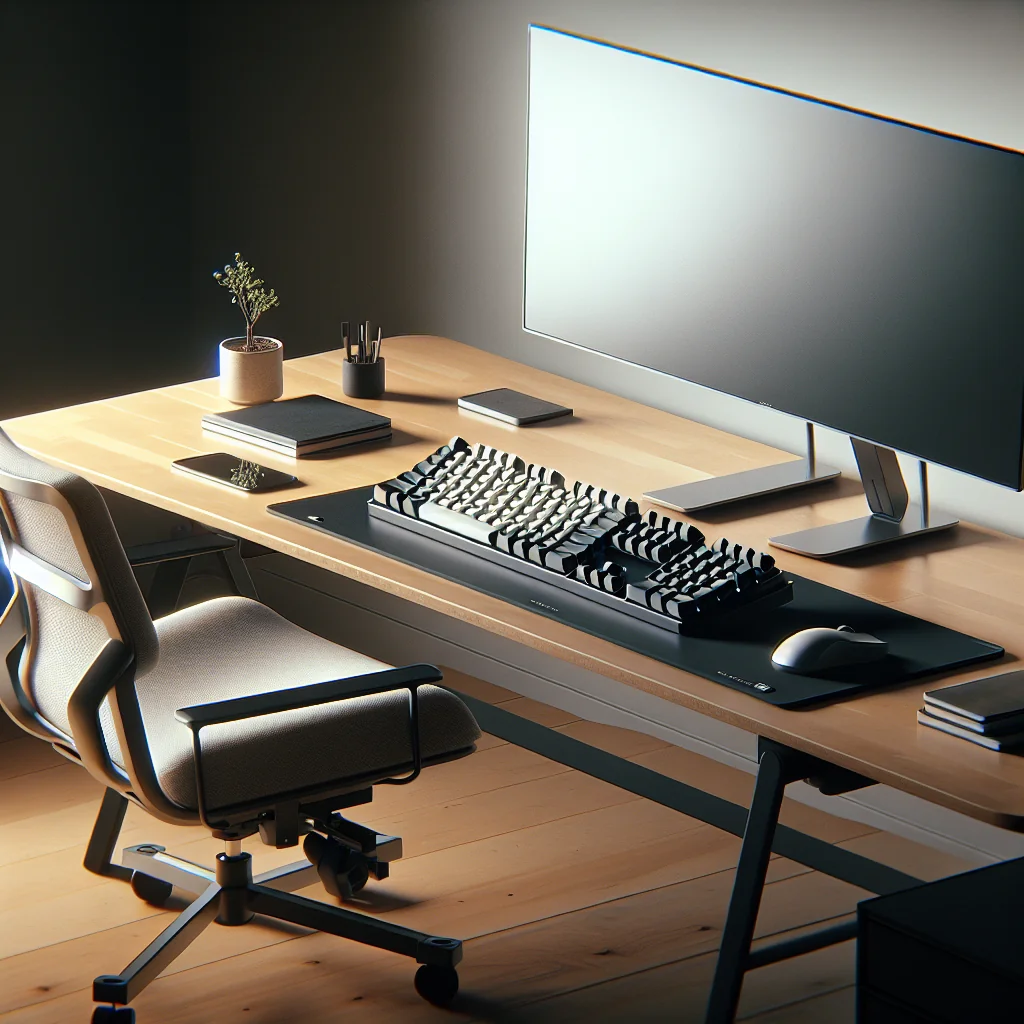
Mechanical Keyboards and Layout Basics
A mechanical keyboard uses a separate mechanical switch under each key. This gives clearer feedback when you press a key and can reduce the force you need to type. Many people find this more comfortable during long sessions and more precise for fast typing.
Place the keyboard directly in front of you, centered with your body and monitor. Keep it close enough that your elbows stay near your sides instead of reaching forward. If your keyboard has height feet, use the flattest setting that still feels comfortable, which helps keep your wrists straight.
For style, choose keycaps and a desk mat that match your color theme, such as soft green or neutral tones. Just keep the typing area clear so function stays ahead of decoration.
Choosing and Placing the Mouse
A well‑shaped mouse supports your hand in a relaxed grip. The Logitech MX Master 3 is one example of a mouse that supports the hand in a slightly tilted, natural position. Extra buttons can reduce movement by letting you perform common actions without shifting your hand.
Place the mouse close to the keyboard so your arm does not reach out to the side. Your wrist should move as little as possible; let your whole arm guide the motion. If you feel pressure on the heel of your hand, try a low wrist rest or adjust the desk height.
For left‑handed users, choose a symmetrical mouse or a left‑hand model so your grip stays relaxed. Size matters as well: a mouse that is too large or too small forces awkward finger positions.
Lighting Essentials and Monitor Light Bars
Lighting affects eye comfort, mood, and how your workspace looks. Poor lighting leads to squinting, headaches, and glare on your screen. Good lighting supports clear vision and makes your desk feel inviting instead of harsh.
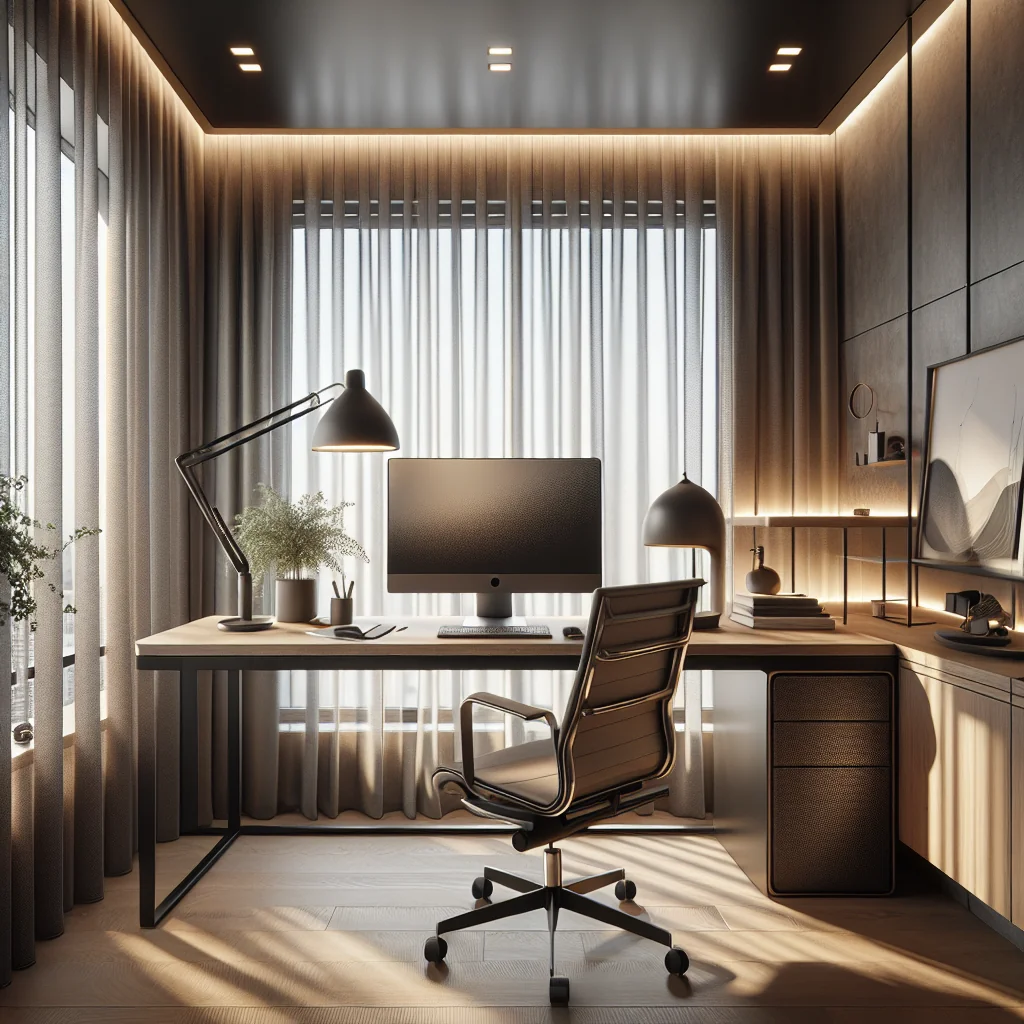
Ambient and Task Lighting Around the Desk
Start with soft ambient light that fills the room without harsh shadows. A ceiling light with a shade or a floor lamp that bounces light off the wall can work well. Then add task lighting near the desk for reading or detailed work.
The best monitor light bar for your needs will sit on top of the monitor and shine light down on the desk. This helps you see the keyboard, notebook, and other items without putting direct light on the screen. Less glare means less eye strain and fewer reflections.
Choose light that is not too blue or too yellow. Many people feel comfortable with a neutral or slightly warm tone, especially in the evening. If your lamp is dimmable, you can lower the brightness at night to help your eyes relax.
Time, Breaks, and Focus Tools
Ergonomics is not only about furniture. Your work rhythm and break habits also play a big role. Tools like a pomodoro timer or flow timer help you remember to stand up, stretch, and reset your posture.
Using Timers to Support Healthy Habits
A pomodoro timer splits your work into short, focused blocks followed by short breaks. During each break, stand up, roll your shoulders, and look away from the screen. These tiny resets keep your body from locking into one position all day.
A flow timer is more flexible and lets you set longer deep‑work sessions with planned pauses. This can suit tasks that need more time to get into a groove, such as writing or coding. The key is that the timer reminds you to move before stiffness builds up.
Place your timer where you can see it without twisting your neck. A small physical timer beside the monitor or a clock in the corner of your screen works well. Avoid placing it far to the side where it would pull your head out of alignment every time you check it.
Productivity Tools and Aesthetic Touches
An inspired desk setup blends ergonomics with personal style and useful tools. Your space should feel calm and clear, but still reflect your taste. The goal is a workspace that you enjoy sitting down to each day.
Minimalist Layout and Personal Items
Minimalist does not mean empty; it means intentional. Keep the central zone in front of your body for functional items: keyboard, mouse, and notebook. Place decorative objects like a small plant, framed photo, or model at the edges or corners of the desk.
Color can support focus. Soft greens, warm neutrals, and muted tones tend to feel calming. Desk mats, keycaps, and storage boxes in matching colors give a cohesive look without being loud or distracting.
Use simple cable management, such as clips or sleeves, to keep wires from crossing your working area. A clear surface is easier to clean and helps your mind feel less crowded.
Home Office vs. Compact Desk: Adapting Ergonomics to Space
Ergonomic desk setup essentials apply in both large and small spaces. The difference is how you manage storage, boundaries, and multi‑use areas. With a few smart choices, even a tiny desk can feel comfortable and efficient.
Shared Spaces and Small Desk Setups
In a shared space, such as a desk in a living room or bedroom, vertical storage is your ally. Use shelves, pegboards, or wall hooks to hold items that do not need to live on the desk surface. Store rarely used gear in boxes so you can clear the desk quickly.
If you need to pack the space away after work, choose a chair that slides under the desk or a folding chair with good support. Keep your monitor and keyboard in fixed positions and move only light items like notebooks or decor.
For a full home office, separate your work zone from any relaxation zone. Place the desk where light is even and background noise is low. This helps both posture and focus, especially when combined with a regular timer routine for breaks.
Quick Comparison of Key Ergonomic Desk Setup Essentials
The table below summarizes core ergonomic desk setup essentials and the main benefit of each item.
| Component | Essential Setup Detail | Main Benefit |
|---|---|---|
| Desk | Stable, deep enough for monitor at arm’s length | Supports neutral arm position and clear workspace |
| Chair | Feet flat, knees near 90 degrees, back supported | Reduces lower‑back and leg strain |
| Monitor | Top at or slightly below eye level | Limits neck bending and eye strain |
| Keyboard | Centered, close to body, low tilt | Keeps wrists straight and shoulders relaxed |
| Mouse | Close to keyboard, fits hand size | Reduces wrist and shoulder tension |
| Lighting | Soft ambient plus monitor light bar or task light | Improves visibility and comfort for long sessions |
| Timer | Regular prompts for breaks and stretches | Prevents stiffness and supports focus |
Use this overview as a quick check while you adjust your own workspace. If one area feels off, look for the matching row and tweak that part of your setup first.
Step‑by‑Step Checklist to Set Up Your Ergonomic Desk
Use this ordered list as a practical guide to set up or reset your workspace. Move through each step in order and make small adjustments until the position feels natural.
- Set your chair height so your feet rest flat and knees stay near a right angle.
- Adjust the backrest and armrests so your back is supported and shoulders relax.
- Match the desk height so your forearms stay roughly parallel to the desk surface.
- Place the monitor directly in front of you at arm’s length.
- Raise or lower the monitor so the top edge is at or slightly below eye level.
- Center the keyboard with your body and keep it close enough to avoid leaning forward.
- Place the mouse beside the keyboard so your elbow stays near your side.
- Arrange lighting with soft ambient light and a monitor light bar or desk lamp.
- Clear the main work zone and move decorative items to the edges of the desk.
- Set a pomodoro or flow timer and plan brief movement breaks through your day.
Once you complete these steps, spend a day working at the desk and notice any pressure points. Small tweaks to height, distance, or angle often remove lingering discomfort and help your ergonomic desk setup feel natural.
Final Checklist of Ergonomic Desk Setup Essentials
As a last pass, use this simple checklist to confirm that the main pieces of your ergonomic desk setup are in place and working together.
- Desk height supports neutral forearm and wrist position.
- Chair keeps feet flat, knees near 90 degrees, and back supported.
- Monitor sits at arm’s length with the top at or slightly below eye level.
- Keyboard is centered with your body and has a comfortable key feel.
- Mouse fits your hand and sits close to the keyboard.
- Lighting combines soft room light with focused task or monitor light.
- Timer or reminder prompts you to stand, stretch, and rest your eyes.
- Cables and extras are managed so the main work area stays clear.
- Decor and color choices support calm focus without crowding the desk.
- Break habits and posture checks are part of your normal workday.
With these ergonomic desk setup essentials in place, your workspace can support both your health and your productivity. You gain a desk that feels good to use, looks clean and personal, and helps you do your best work for longer, with less strain.